 Christmas Mega Sale – Enjoy Up to 50% OFF on Every Plan!
We always search for ways that can help us save our time and energy. With shopify automation of order fulfilment, you can save your time to fulfil the customers orders and needs.
But you are probably looking for ways to automate your order fulfilment on shopify store. Don’t worry! This post is meant for you.
Since, amazon is a widely used ecommerce platform by many online brands and users, it is considered to be the most reliable and best price model designed for everyone.
Thus, here we will know how Shopify automatically fulfills orders with the help of Amazon FBA.
No worries if you don’t sell on amazon, you can still use and make the best out of amazon FBA. This way you can ensure your shopify orders are fulfilled by amazon.
Why Do You Need Shopify Order Fulfilment Automation?
Wondering why you need to automate order fulfilment on Shopify? Here’s why:
-
- Save More Time Focusing on your store requirements: Manual fulfilment can be time consuming especially when you are frequently getting a higher number of shopify orders. Automated solutions will equip you with more time focusing on your other business needs and tasks while keeping you away from shipping stress.
-
- Improve Accuracy: Automated order fulfilment will help you improve accuracy and eliminate errors. The whole process will become more efficient by reducing manual order entry and tracking.
-
- Reduce order fulfilment cost: By automating your shopify order fulfilment, you’ll be able to save fulfilment cost. It will be done because of the reduced amount of labour needed to place an order.
Now, once you know the importance of automated order fulfilment for shopify stores, it’s time to learn how to do it.
How to Automatically Fulfil Shopify Orders using Amazon FBA?
Follow these 6 steps required to automate your shopify orders fulfilment by FBA.
1. Get Registered with Amazon Seller Central account and upload products
In case you don’t have an Amazon central account yet, go to the sellercentral.amazon.com to make sure to create that first.
Once you have created an account, it’s time to list your products. You can choose to upload your products manually or with the help of Shopify’s Amazon sales channel.
Ensure that your Amazon products SKU’s must match with your Shopify SKU’s. You can change Shopify SKU’s at any point in time but before you create a product in Amazon. You cannot change your product SKUs once it is created on Amazon.
2. Connect Shopify’s FBA service
Shopify provides FBA integration to which you can connect to sync & shopify order fulfillment.
Checkout & follow the instructions given on shopify fulfilment service. And, connect your Shopify and Amazon account.
3. Configure your FBA products in Shopify
You’ll get some added options in your Shopify admin for product pages with your connected Amazon fulfilment service. To sync your inventory, set your inventory management to amazon marketplace web.
Once you do it, your inventory will be synced with your Amazon warehouse inventory and become ready to be fulfilled.
4. Configure your shipping rates
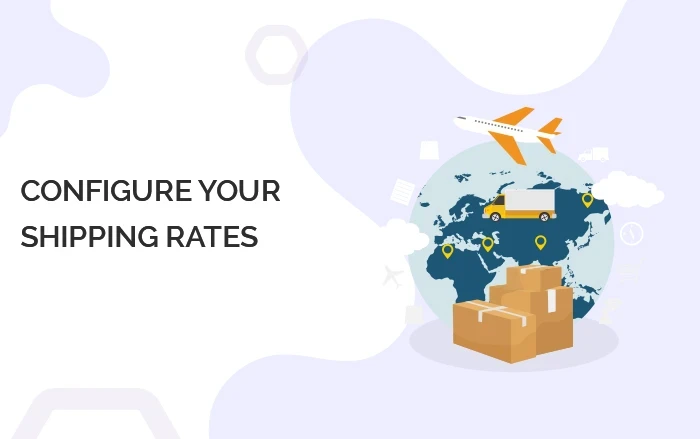
Amazon works with different shipping rates such as:
- Standard Shipping
- Expedited Shipping
- Priority Shipping
You can get all the details about pricing and shipping time via Amazon’s MCF page. Find “Multi-Channel Fulfilment pricing” on the page and get all the details of price and shipping.
Note that your Amazon fulfilment will work when your shipping options will match with Amazon’s shipping name as it is.
Here is the pro tip, you can edit your “theme language” to show the time frame on the checkout page in this way:
- Go to Online Store > Themes
- On your theme, select Actions then Edit languages
- Select Checkout & System
- Edit the shipping method notice field
If you are providing free shipping offers on some price range, create a second standard shipping with free shipping conditions. Once it is done, your checkout system will show the correct one based on the cart conditions.
5. Set up automatic fulfillment
If you’re fulfilling 100% orders with Amazon FBA, you need to set Shopify to autofulfill
And, if you’re fulfilling some of your orders with Amazon FBA, or you don’t want autofulfill turned on, then set up shopify autofulfill according to that.
6. Create a plan for international orders
Amazon doesn’t allow direct fulfilment services for international orders. You need to have an in-house team or use a 3rd party fulfilment service to make sure your international orders must be fulfilled and delivered.
You can decide for your products to be fulfilled by Amazon, some in-house, and some from 3rd party dropshippers, so that “autofulfill” in Shopify settings can be off.
So, for international orders, here are the steps to fulfill orders through in-house:
-
- Ship the order: You can use a shipping app to get price discounts and an easier workflow.
-
- Request fulfillment: Click on the Request fulfillment button in order page of Shopify admin.
-
- Enter the shipping method: Make your shipping methods must match with amazon’ methods exactly such as Standard Shipping, Expedited Shipping etc.
-
- Fulfill items: Click on the fulfil intems button to enable you for the next step i.e., tracking information.
-
- Enter tracking information: Enter tracking info and select carrier option. Check the box to notify the customer of the shipment and tracking. Then click on the send fulfillment request button.
- Verify the complete process: In the timeline section of the order page, you can verify that everything has been done properly.
If you wish, you can also fully automate international orders by setting up a 3rd party service to handle international orders.
