 Christmas Mega Sale – Enjoy Up to 50% OFF on Every Plan!
What if your site content delivers worldwide as quickly as possible? Content delivery networks (CDN) are your delivery service. Setup CDN With WordPress on a website is serving a key role in boosting speed and performance scores. With the increasing importance of UX in the ever-evolving algorithm, search engines prioritize fast websites over slow ones.
Therefore, you need to understand what a CDN is, its benefits, and how to add it to your WordPress website to gain faster speed, better user experience, and increased Google ranking.
Along with the basics of CDN, this article also helps you to pick the best CDN service provider for you.
What is WordPress CDN?
A CDN is a collection of hosting servers distributed around the world. With the use of CDN, the closest server of the visitors loads the static versions of your site’s files to make the delivery of the content faster.
While CDN speeds up the content delivery process through proxy servers located nearest to the users, CDN also improves website security against malware attacks.
If you want to know more in detail about CDN, we highly recommend checking out our article – CDN: Everything you need to know about.
How CDN Works in Reducing the Site Load Times
CDN is also referred to as a content distribution network. That simply means the website with CDN helps distribute the content around the world. On the other hand, a website without CDN needs to rely on a single server for the distribution of content to the site visitors.
But you must be wondering how my CDN works Or does it really help reduce the page load times? Undoubtedly, CDN speeds up the content delivery because users are served from the server closest to them instead of the web server from the hosting company that only has a single physical location.
CDN servers store cached versions of the content like images, videos, audio, HTML, CSS, and JavaScript files. So, the distributed content is easily available on the user end when requested. As a result, CDNs reduce page latency by increasing the proximity between the user’s location and web servers.
Eventually, site owners experience an improvement in the loading speed and user experience.
How to Set Up a CDN on WordPress Website?
Setting up a CDN on your WordPress website is pretty straightforward. If your web hosting company offers CDN as an integrated part of their service, all you need to do is simply update the account settings to enable it for your site. However, if you are using third-party CDN services, you can follow the given steps to integrate CDN on your WordPress website.
- Create an account for your CDN.
- Choose and purchase your CDN plan.
- Once you’ve signed up, you’ll get either new nameservers or a CNAME that you will need to add to your current registrar.
- Once your DNS is finished propagating to your new CDN, the CDN will successfully be integrated and you are all set up.
Top WordPress CDN Providers with Setup Process
There are many companies with different CDN service plans to offer. Get an overview of the features and decide what fits your needs to choose the right CDN service provider for you. We’ve selected the following provider as the best choice to begin with:
1. StackPath
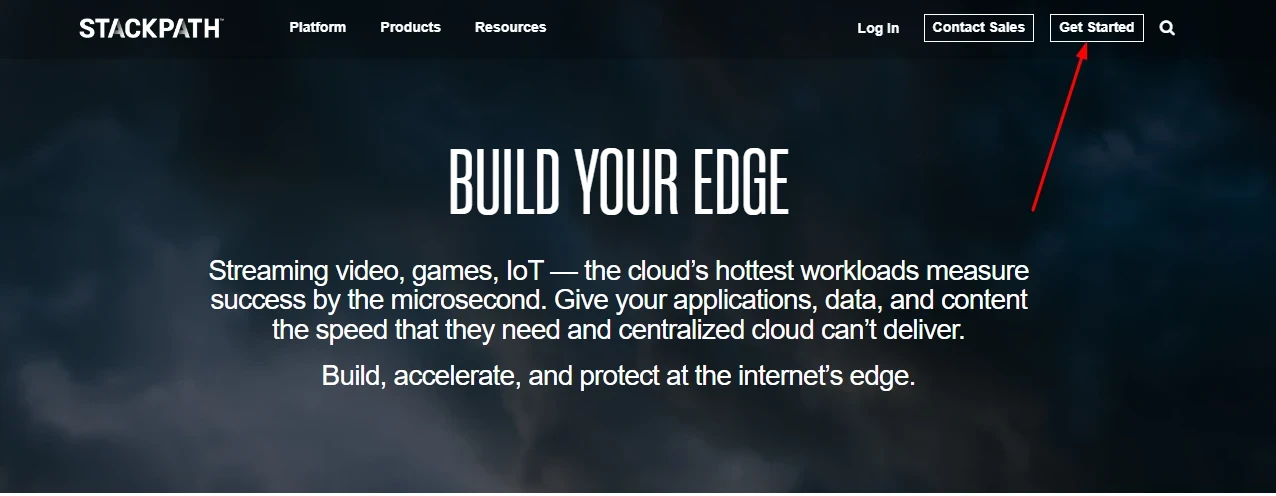
Stack Path is one of the most popular CDN providers. By offering different CDN plans and a combination of CDN and website firewalls, the stack path is designed to provide an edge to the website owners.
- Start by visiting the website and click on the get started button.
- Create your account using an email and unique password. If you already have an account, you can sign up to move on to the next step. Once you’ve created an account, select website and application services.
- Choose CDN on the next page and then complete your payment process and click continue.
- Enter your domain name and your hosting server IP address to continue setting up CDN.
In the final step, update your DNS settings with the information provided by the StackPath network. CDN activation will take up to 24 hours, so keep an eye on your website to make sure it’s working.
2. Cloudflare CDN
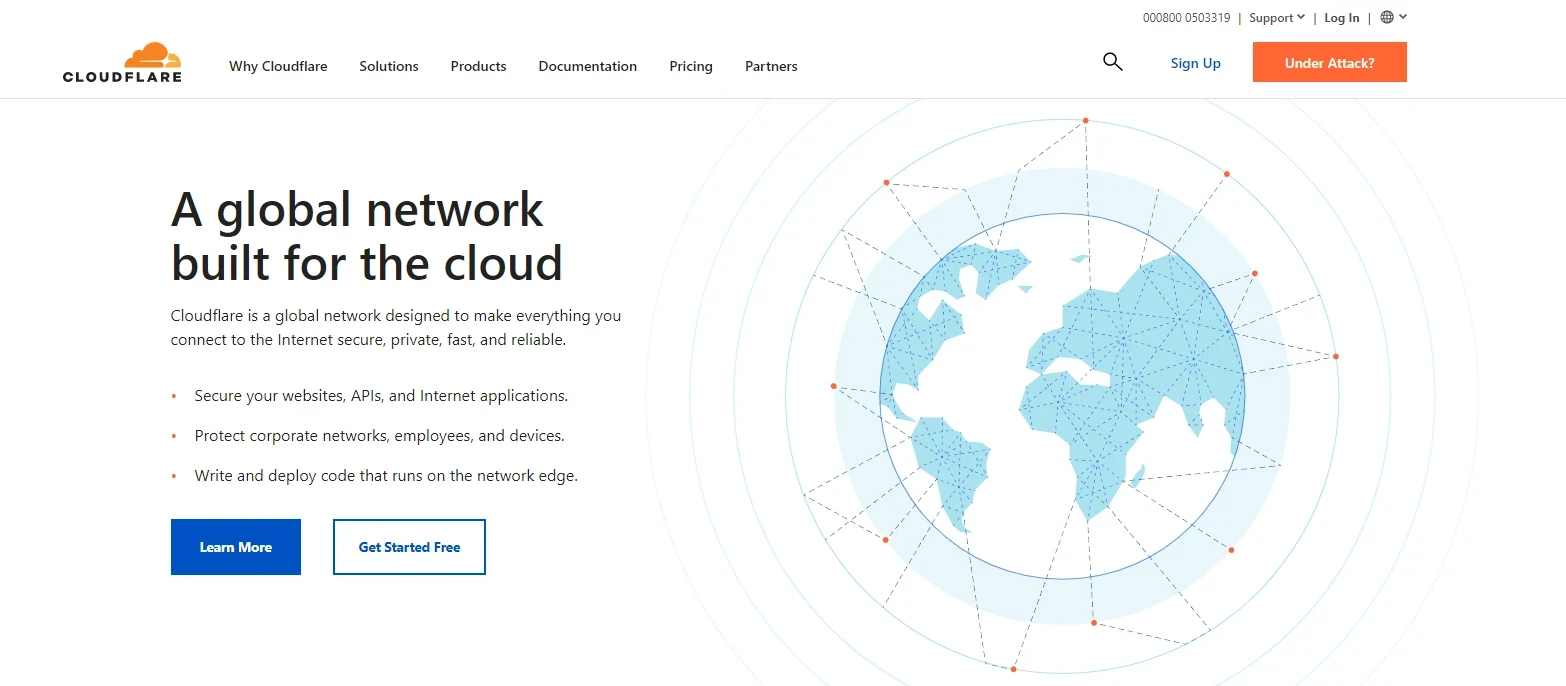
Cloudflare is one of the renowned names in the CDN services, trusted by millions of WordPress websites. Cloudflare is well known for its performance, security, and free subscription. To get started, visit the website and click on sign up. Enter your password and email if you have an account or create a new account.
- Click on create an account and it will take you to the next page where you’ll be asked to add your site.
- Add your website URL and click on add site button to proceed. Once your site is added, you can choose to select the plans as per your needs.
- After completing your subscription with your preferred plan, your DNS record will be scanned. You’ll be asked to replace your nameservers with the Cloudflare nameservers. Once replaced, save changes by clicking on check nameservers. It will take around 24 hours to activate your CDN and you’re done with integrating CDN with Cloudflare.
3. Sucuri CDN setup process
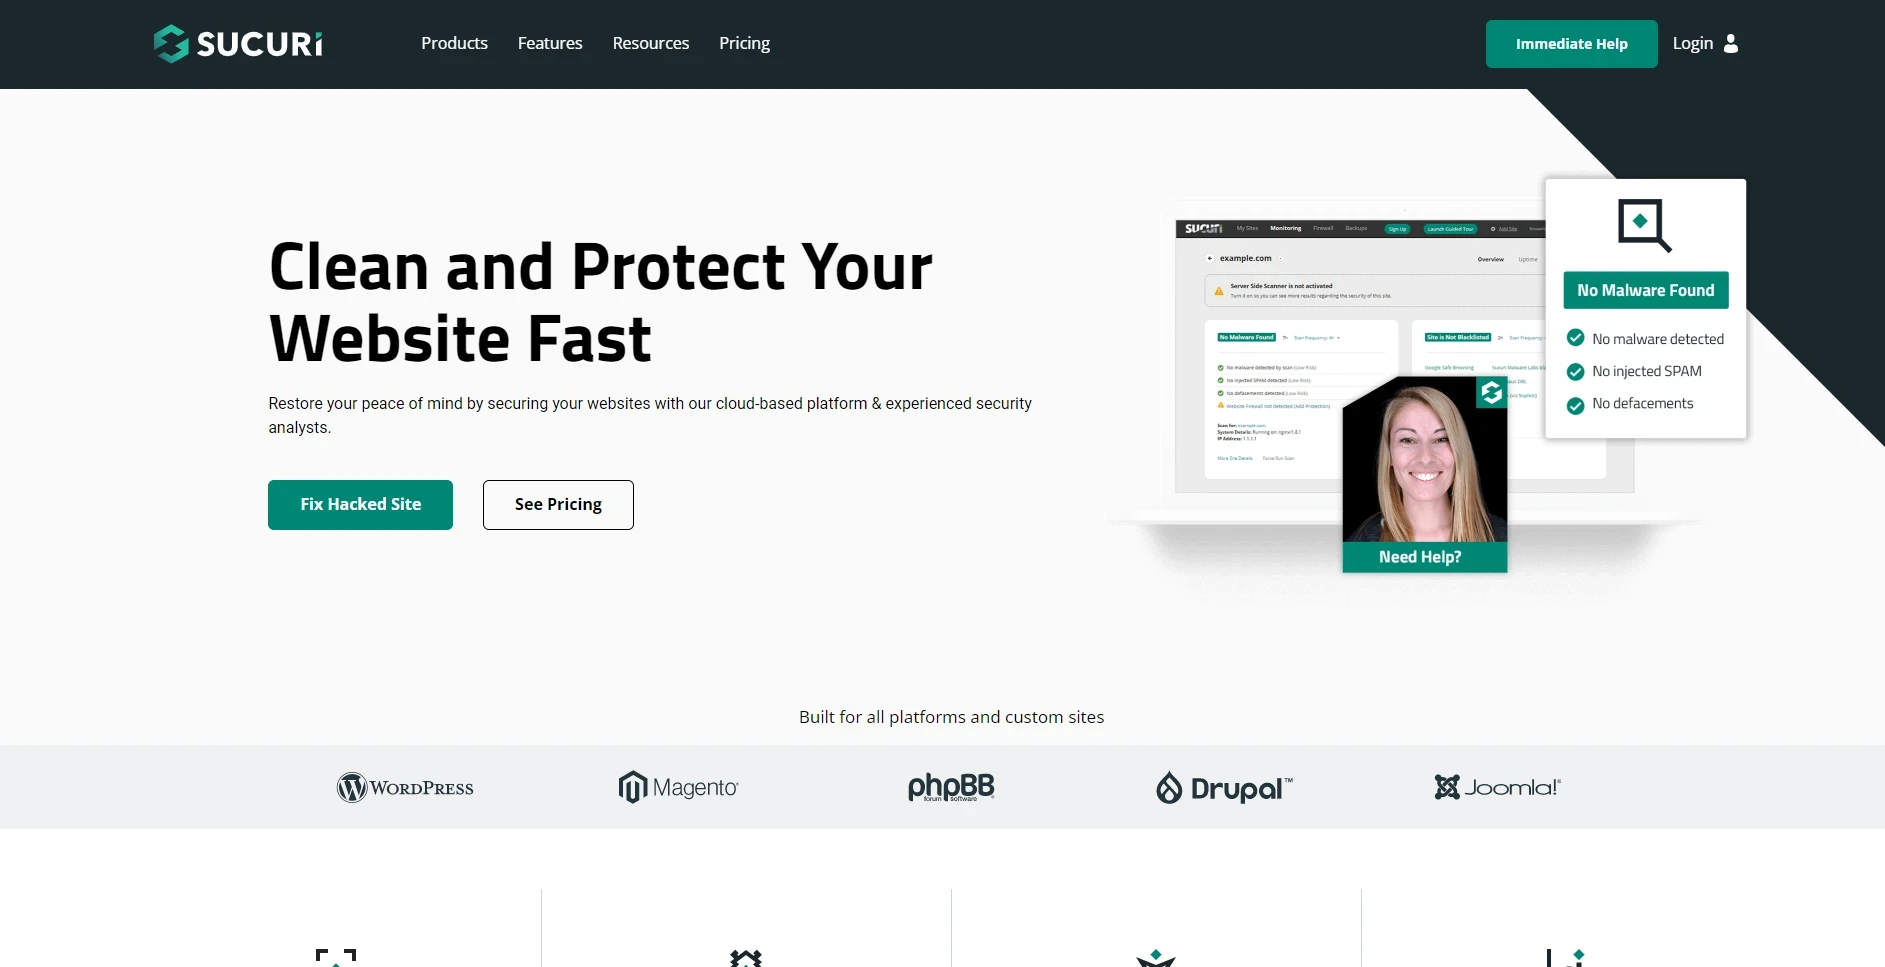
Apart from Sucuri’s most popular security services, it also offers a built-in CDN for your site. The basic plans start at $199.99/year and are integrated with the CDN speed enhancement feature. To start with Sucuri’s CDN, visit the website and then choose the website firewall from the products dropdown menu.
- Create your account and add your billing information. You’ll then be able to add your site by entering your domain name and selecting the option “I want to use the sucuri’s DNS servers”.
- The final step is to update your DNS information by adding an A record and pointing it to Sucuri’s DNS servers.
- Check your website to ensure everything is set up correctly.
Using WordPress Speed Optimization Plugin to Integrate CDN
Using WordPress makes CDN integration relatively easy. While you can manually set up your CDN, you can also use a speed optimization plugin to help you get WordPress integrated with CDN in just one single click.
W3speedster is one of the most trusted speed optimization plugins which allows you to add CDN to your website. The plugin helps speed up WordPress by optimizing CSS, JS, and images and reduces the stress on your server to render full WordPress pages on every request.
Benefits of WordPress CDN
Slow site speed negatively affects conversions and the search ranking of the website. Without CDN, your visitors are likely to request the same files from one server, and you may even experience more downtime. Here are a few benefits of WordPress CDN:
Saves bandwidth:
CDN creates the copy of the content by caching and delivers it to the visitors without fetching it directly from the web server. This helps in saving bandwidth. For high-traffic websites, it can save a big buck in server expenses.
Better Security:
Security is of major importance for all WordPress users and CDN helps in building security better as it can identify security threats such as DDOS attacks and spamming activities using bots and scripts.
Manage High Traffic:
CDN helps leverage websites with high traffic volume. The cached content can be easily available for the end user even if the web server is loaded with requests.
Faster Speed:
Since CDN reduces the latency, it helps in improving the loading speed of a webpage by delivering cached content stored in one of the many servers distributed around the world. The faster the speed of a webpage, the better will be the user experience and fewer the bounce rate.
Better Availability
Using CDN allows keeping the site resources available all time since your website is located on servers worldwide. Thus, you can experience better uptime and reduce downtime. So, even if one server is unavailable, the CDN delivers your content using the different servers available at that point in time.
Final Words
Setting up CDN with a WordPress website is a proven way to optimize speed and performance. You can use different methods to integrate CDN with your website either using a speed optimization plugin like w3speedster or purchasing third-party CDN services.

Yay, google is my world beater and assisted me to find this great site!
Some really interesting points you have written. Just what I was looking for
Hello there, You’ve done an incredible job.