 Christmas Mega Sale – Enjoy Up to 50% OFF on Every Plan!
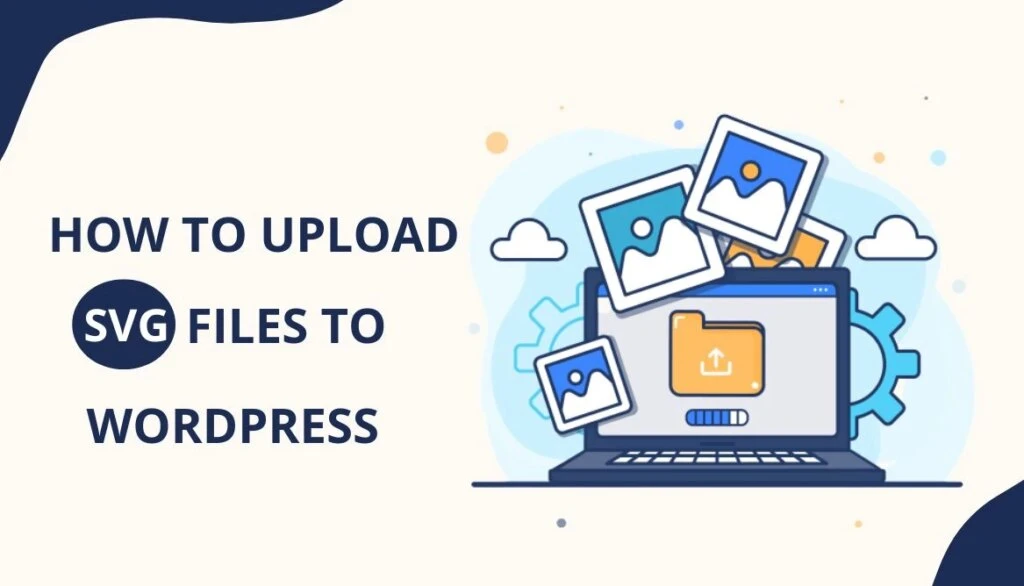
Need a better way to keep the quality of your images intact? Adding SVG to your WordPress can help you. WordPress allows you to use different image file formats easily but it doesn’t support the upload of SVG formats directly. Fortunately, there are a few ways to Upload SVG Files in WordPress.
Incorporating such methods to add SVG files will make it possible to display two-dimensional images on WordPress sites.
In this article, we’ll cover the steps of uploading SVG files to your WordPress. To begin, let’s first understand what is SVG and how it works.
What is SVG?
SVG stands for scalable vector graphics, an image file format based on the XML markup language. While image formats like JPG or PNG are made up of pixels, SVG relies on a schema-like set of data which provides some great benefits. The major benefit of using SVG images in WordPress is that you can add large images while keeping the quality uncompromised.
The use of SVG images has been increasing, about 42% of all websites in 2024 are using SVG files. Also, SVG is supported by all major browsers.
Read Also: PNG vs JPG: Which Image Format is Better For Your Site?
How Does SVG Work?
Scalable vector graphics (SVG) produces two-dimensional vector images using XML. While JPG and PNG images are based on pixels, vector graphics use XML text.
That means JPG and PNG images start to blur when zoomed in, on the other hand, zooming in doesn’t affect the quality of the SVG images.
So, vector graphics allow you to enlarge images without losing quality. Most importantly, SVG image file size is way smaller than JPEGs or PNG.
You can use SVG files in WordPress to design company logos, icons, or other graphics. Moreover, SVGs images can also be searched, indexed, scripted, edited, and compressed. However, SVG images are unsafe to use therefore WordPress doesn’t provide support for them by default.
Benefits of Using SVG on WordPress
Despite security issues with SVG, there are lots of benefits to using this image format on WordPress. Here are a few advantages of using SVG files:
- Scalability – SVG is a vector image format that keeps the quality the same across all screen resolutions. Even if you enlarge an image, the quality remains the same. Thus, it can be used for many purposes, making it a scalable format for many WordPress users. It is used, generally, for icons and logos.
- Smaller File Size – Since SVG files are scaled images, you can use them to improve website speed and performance. SVG images take less web storage space and load faster than raster images.
- SEO friendly – SVG files can be quickly indexed and appear on Google Image Search to help you make your website SEO-friendly. With raster images, you need to optimize images’ alt attributes.
- Code Based – SVGs can be edited and modified using a text editor or vector graphics editing software. You can optimize SVG image files for websites or add animations to make interactive graphics.
How to Upload SVG files to WordPress Using 2 Safe Methods
There are two ways to add SVG files to your WordPress – using a plugin or manually. Since WordPress doesn’t support SVG by default, you’ll need to use these methods to get SVG support on the website.
Method 1: Adding SVG Using a Plugin:
Plugins make the process easier. So, to Upload SVG Files in wordpress, you can use the WordPress plugin. All you need to do is install the plugins, and configure a few settings to enable SVG support on WordPress.
Step 1: Download the plugin
First, you’ll need to download and install a plugin. We recommend using SVG support. Once you’ve installed and activated the plugin, move on to the settings > SVG support from the WordPress dashboard. There you’ll find the instructions to know how to style SVG files for your website.
Additionally, you’ll be able to configure a few important administrative settings. You can configure it to allow access to SVG upload restriction to administrators only. You’ll be able to upload SVG files directly to your media library. However, there are a few other important items to take care of first.
Step 2: Enable Gzip support of SVG files on your server
Enabling GZIP support for SVG files on your server will help you improve the response time of your website. If this file is added to your server, adding it to the list for your website will ensure that your SVG files are optimized quickly. Make sure to include this file type in your .htaccess file, in order for everything to run smoothly.
Step 3: Ensure that the plugin is Securing Files
The reason WordPress does not allow SVG files is the security issues. Since SVG files are XML based, your website becomes vulnerable to external entity attacks. So, it is recommended to limit SVG file uploading privileges to administrators only while configuring the SVG plugin.
You should also incorporate a more secured approach by ‘sanitizing’ your SVG files before you upload them. This will eliminate the unnecessary XML code which is highly prone to site attacks.
While the SVG support plugin doesn’t come with automatic sanitization, you can use another plugin to help with that, Safe SVG is one of them.
Method 2: Uploading SVG files to WordPress manually
If you don’t prefer using a plugin, you can manually Upload SVG Files in wordpress. Here’s how the process works:
Step 1: Edit the Functions.php file on your Site
Start with editing your website’s functions.php file. To do this, you can go to Appearance > Edit themes in your dashboard, and select the functions.php file.
Alternatively, you can also use an FTP application like Filezilla to access your site’s files. Whichever way you’ll choose, make sure to switch to a development environment before making changes to keep your live site safe from any harm.
Step 2: Add a code snippet
Open the functions.php file and paste the following code snippet in there.
function add_file_types_to_uploads($file_types){
$new_filetypes = array();
$new_filetypes[‘svg’] = ‘image/svg+xml’;
$file_types = array_merge($file_types, $new_filetypes );
return $file_types;}
add_filter(‘upload_mimes’, ‘add_file_types_to_uploads’);
Save changes once the code is successfully added, you’ll WordPress media library will be able to accept the SVG file for upload.
Final Words
Adding SVG images to WordPress using either of the methods adds up to many benefits. Unfortunately, SVG files are prone to code injection and external attacks, which makes them less reliable for WordPress support by default.
Keep in mind limiting upload privileges to the administrators so as to safely upload SVG files to the site’s media library.

Regards for helping out, great info.
Thanks for another informative blog.
Hello, This article is really interesting.